As a power tool user, it’s frustrating when your equipment breaks down in the middle of a job. One of the common problems you might face with your Dewalt impact driver is a faulty chuck. A chuck that doesn’t grip a drill bit or accessory can hamper your work and bring productivity to a standstill.
However, with some technical know-how, you can repair your chuck and save money you might otherwise spend on a replacement. In this comprehensive guide, we will explore how to repair DeWalt impact driver chuck like a pro in simple and easy steps. So, let’s get started!
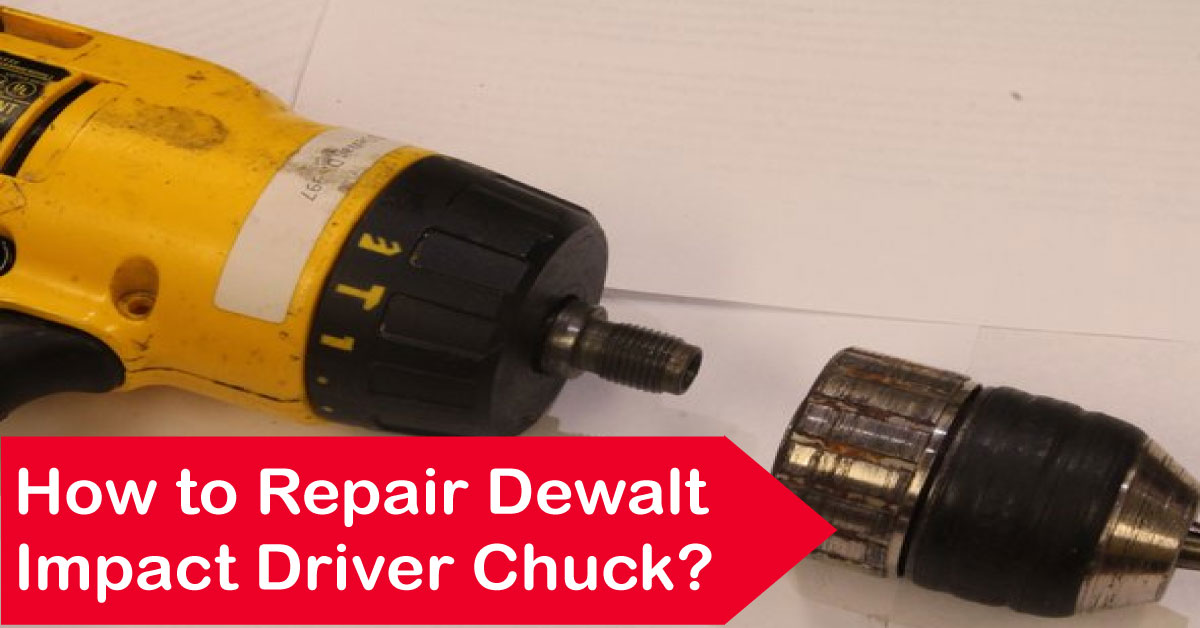
Dewalt Impact Driver Chuck
Before we dive into the repair process, it’s essential to have a basic understanding of how Dewalt impact driver chucks work. A chuck is a device that holds the drill bit in place and allows it to rotate. The Dewalt impact driver chuck consists of two main parts – the chuck body and the jaws. The chuck body is the outer casing attached to the impact driver, while the jaws are the movable parts holding the drill bit.
Signs of a Damaged Dewalt Impact Driver Chuck
Before you know how to repair a DeWalt impact driver chuck, you must recognize the signs of a damaged chuck. Signs that indicate your Dewalt impact driver’s chuck is damaged include:
- Excessive noise or vibration when using the tool
- Difficulty tightening and loosening screws/bolts
- Screws/bolts slip out of the chuck while you’re using it
- Difficulty attaching or removing drill bits
- Gear teeth on the chuck becoming worn down, jammed or bent
If your Dewalt impact driver exhibits any of these signs, its chuck likely must be repaired.
Step-by-Step Instructions on How to Repair Dewalt Impact Driver Chuck
Now that you have identified the problem with your Dewalt impact driver chuck, it’s time to fix it. Follow these step-by-step instructions to repair your Dewalt impact driver chuck:
Step 1: Disassembling the Chuck: To start the repair process, you must remove the impacted driver head connected to the chuck. After disconnecting, remove the retaining bolt and remove the outer sleeve.
Step 2: Cleaning the Chuck: Clean the Dewalt Impact Driver Chuck and its parts thoroughly. You can use a degreaser to remove dirt and debris.
Step 3: Repairing or Replacing Chuck Jaws: If the problem is due to the Chuck Jaws, you can fix it by replacing them or sanding them to remove the abrasion.
Step 4: Reassembling the Chuck: After cleaning and repairing, it’s time to assemble the chuck. Reinsert the outer sleeve, replace the retaining bolt, and reattach the driver’s head.
Step 5: Testing the Chuck: Once the repair process is complete, test the chuck by inserting a drill bit and tightening the grip to check if the chuck is working correctly.
FAQs
Q1. Can I repair the chuck of my Dewalt impact driver myself?
A. Yes, you can repair the chuck of your Dewalt impact driver if you follow the instructions carefully and use the right tools.
Q2. How often should I repair my Dewalt impact driver chuck?
A. You should repair your Dewalt impact driver chuck whenever you notice any signs of damage, such as the chuck becoming loose or the drill bit slipping out.
Q3. What tools do I need to repair my Dewalt impact driver chuck?
A: You will need a pair of pliers, a chuck key, and new jaws for the chuck.
Q4: How long will repairing the Dewalt Impact Driver Chuck take?
A: The time it takes to repair Dewalt Impact Driver Chuck will depend on the extent of the damage, but generally, it should take less than an hour.
Q: Can I prevent the Dewalt Impact Driver Chuck from malfunctioning?
A: Yes, you can prevent the Dewalt Impact Driver Chuck from malfunctioning by regularly cleaning it after use and avoiding over-tightening the chuck.
Wrapping Up
Repairing your Dewalt Impact Driver Chuck should be manageable. By understanding the mechanism and commonly associated problems, you can repair them by following the simple steps. Whether you’re a professional or a DIY enthusiast, knowing how to repair your power tools is essential to saving you time and money in the long run. We hope this article has been informative and helpful in your power tool maintenance journey.