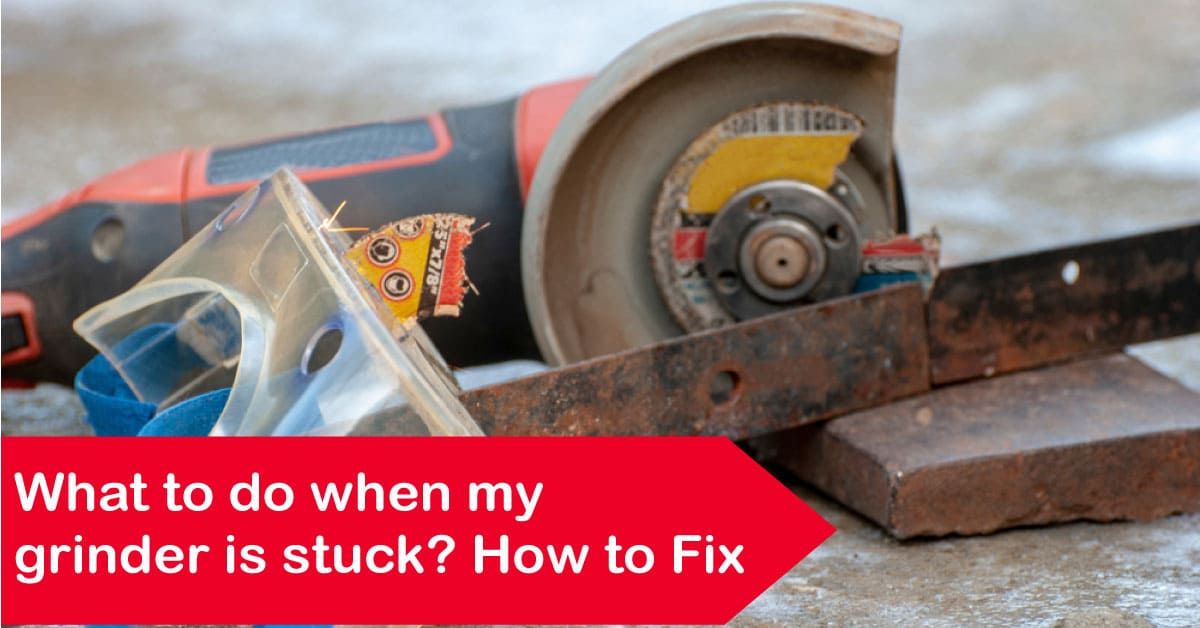
If you have been working with power tools for a while, then you know that sometimes things just don’t go as planned. And if you are working with an angle grinder, you might face the frustrating situation of your grinder getting stuck. Whether it is because your tool is malfunctioning or you accidentally got it jammed, it can make your work come to a halt. But don’t worry; this guide will give you all the information you need to tackle the issue and get your grinder back on track.
Reasons why grinders get stuck
There are several reasons why your grinder gets stuck, and the most common one is the accumulation of sawdust, dirt, or debris inside the tool. This build-up will cause the blades to stop spinning, making it challenging to continue working. Another reason why grinders get stuck is due to the dullness of the blades. Over time, the blades will wear down, making it difficult to cut through hard materials. Lastly, improper storage or misuse of the tool can also prevent it from getting stuck. For instance, leaving the grinder outside or exposing it to moisture can damage the motor, gears, and blades, leading to a stuck grinder.
Now, what to do when my grinder is stuck?
Now that you’ve got an understanding of why your angle grinders get stuck. Now, let’s discuss what to do when your grinder is stuck. You need to follow several steps to sort out the problem:
Step 1. Assess the situation: Before you dive in, you need to understand why your grinder is stuck. Take a closer look and see if any debris or materials are obstructing the movement of your tool. If there is none, then your machine might be overheated or experiencing technical issues. Either way, identifying the root cause is essential to figuring out a solution.
Step 2. Unplug your grinder: Safety should always be your top priority, so make sure to switch off your grinder and unplug it from the power source before attempting any repairs.
Step 3. Disassemble your grinder: Once you have ruled out any obvious obstructions, it is time to take it apart. Follow the instructions provided by the manufacturer and use the appropriate tools to dismantle your angle grinder. You will want to check for any broken or worn-out parts, stripping gears, or other damages that could be causing the problem.
Step 4. Clean and lubricate your grinder: After removing any debris and identifying any apparent damages, take the opportunity to give your grinder a thorough clean. You can use a cloth and some cleaning solutions or an air compressor to blow away any dust and dirt that might have accumulated over time. Once everything is clean, use a degreaser and lubricant to keep your parts running smoothly.
Step 5. Reassemble and test your grinder: Once you have a clean and well–lubricated grinder, it is time to reassemble it. Make sure to double-check that everything is aligned and tightened, then plug it back in and test it out. If it is still not running smoothly, then it might be time to seek professional help or replacement parts.
FAQs:
Q: Can I use a wrench to force the blade to turn?
A: No, this can damage the motor and cause serious injury. Never attempt to force the blade to turn when the grinder is stuck.
Q: Should I wear gloves when cleaning the grinder?
A: Yes, wearing gloves can protect your hands from sharp blades and any debris that may fall out of the tool.
Q: Does a dull blade cause the grinder to overheat?
A: Yes, a dull blade will put more pressure on the motor, causing it to overheat. It’s important to keep the blades sharp to prevent any damage to the tool and ensure a smooth operation.
Wrapping Up
Working with an angle grinder can be challenging, especially when it gets stuck. However, if you follow the steps provided in this guide, you can identify and solve any issues that might arise. Remember always to prioritize safety, take it apart carefully, and give it a good clean and lubrication before reassembling it. Lastly, proper maintenance and storage of your power tools can prevent any potential damage or clogging, ensuring that they last for a long-time of use.


