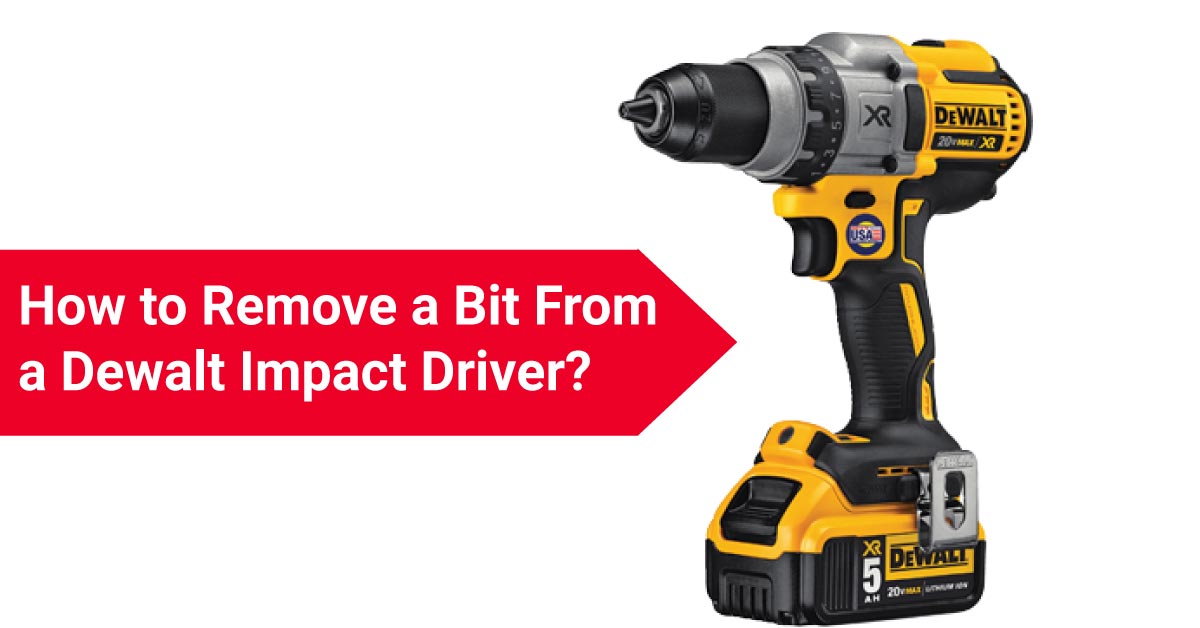
DeWalt is a name that is well-known and recognized in the industry, and impact drivers are a necessary tool for both DIY enthusiasts and expert professionals. But, in order for them to function at their peak and survive a long time, even the best instruments need some maintenance and care. Understanding how to remove a bit from a DeWalt impact driver is among the key abilities to possess when employing an impact driver.
Though it may appear straightforward, removing a bit from a DeWalt impact driver might be challenging if you’re not familiar with the procedure. Knowing the proper tools and methods is crucial to avoid damaging the driver or the chuck or hurting yourself in the process. You may safely and effectively remove bits from your DeWalt impact driver by following the instructions in this step-by-step manual.
In this article, we’ll give you a thorough instructions on how to take a bit out of a DeWalt impact driver, along with advice on how to fix typical problems that could come up and how to maintain and care for your driver. This tutorial will provide you with all the knowledge you need to complete the task at hand, whether you’re replacing pieces, maintaining or cleaning the driver, or troubleshooting a problem.
Step-by-Step Instructions for DeWalt Impact Driver Bit Removal
Make sure you have the necessary tools and accessories before you begin. You will want a Phillips head screwdriver or a DeWalt bit holder (depending on the model of your driver) as well as a spare bit in case one is required. Gloves are optional but advised.
Step 1: Get the Driver Ready
If the driver is a corded device, be careful to unhook it and turn it off. Remove the battery if it’s a cordless type. This will stop any unintentional driver activation while you’re working on it.
Step 2: Hold the Driver Firmly
Don your gloves (if you’re wearing them) and take a firm hold of the driver. To avoid the driver slipping or twisting during the bit removal procedure, you should maintain a firm grasp on it.
Step 3:Activate the Bit
The chuck is a component of the driver that holds the bit on the majority of DeWalt impact drivers. There are several ways to remove the bit from the chuck, depending on the model of the driver. Here are some of the more typical ones:
First Technique: Manual Release
By tugging on the chuck sleeve, you can manually release the bit from various DeWalt impact drivers. When you insert or remove a bit, the sleeve, which is a portion of the chuck, goes up and down. Using one hand to grip the driver and the other to lift the chuck sleeve, you can release the bit. Taking away the bit should be simple.
Second Technique: Philips Screwdriver
The bit must be released with a Phillips head screwdriver for other DeWalt impact drivers. Use the screwdriver to remove the screw that is located on the side of the chuck. You should be able to remove the bit from the chuck after the screw is no longer tight.
Third Technique: DeWalt Bit Holder
The bit can be removed from the chuck using a DeWalt bit holder if you have one. The bit holder needs to be simply inserted into the chuck, pushed in, and then turned to lock it in place. The bit holder can be pulled out of the chuck along with it once it has been locked in place.
Step 4: Examine the Bit and Chuck
Take some time to check the bit and the chuck once you have withdrawn the bit. Check for any damage, wear, tear, or possible accumulated debris. Replace the bit with a new one if it is broken or worn out. Clean the chuck with a cloth or a brush if it is dirty or covered in debris.
Troubleshooting: Typical Problems with DeWalt Impact Drivers While Removing Bits
Although removing a bit from a DeWalt impact driver is typically simple, there are some frequent problems that you might run into. To solve these problems, consider the following advice:
Problem 1: Bit Caught in Chuck
The bit getting trapped in the chuck is one of the most frequent problems when taking out a bit from a DeWalt impact driver. The bit may be worn out or broken, or the chuck may not be releasing properly.
Solution
Try lubricating the chuck with WD-40 or another lubricant and letting it set for a few minutes to see if that helps release a trapped bit. With one of the techniques outlined above, try releasing the bit once more. Try gently hitting the chuck with a hammer if the bit is still stuck, or try gripping and twisting the bit with pliers. If none of these solutions work, you might need to get your driver fixed by a pro.
Problem 2: Chuck’s Inadequate Release
If you’re having difficulties removing the bit from the chuck, the chuck itself may be defective. The chuck may experience this if it is filthy, worn out, or damaged.
Solution
Try cleaning the chuck with a cloth or a brush if it’s not releasing correctly to see if it helps. Another option is to lubricate it with WD-40 or equivalent lubricant. You might need to replace the chuck or bring your driver to a professional for repair if these steps don’t solve the problem.
Problem 3: Other Issues
While removing a bit from a DeWalt impact driver, other challenges could appear, such as a broken bit, a worn-out or damaged chuck or an issue with the driver itself.
Solution
It’s essential to send your driver to a professional for repair if the problem is more serious. However, you can attempt self-diagnosing the issue by examining the driver and the bit, cleaning and lubricating the chuck, and attempting various ways to release the bit. Consult the user manual or ask for advice from DeWalt customer service if you’re unclear about what to do.
How to Maintain and Take Care of Your DeWalt Impact Driver
Now that you know how to remove a bit from a DeWalt impact driver, it’s critical to maintain your driver to make sure it lasts a long time and functions well. Here are some suggestions for upkeep and maintenance:
Clean the Driver and Chuck Frequently
To stop dirt and debris from building up and harming the driver and chuck, clean them frequently with a cloth or brush. In order to avoid it getting caught and making it challenging to remove or insert pieces, make sure to clean the chuck sleeve as well.
Lubricate the Chuck and Other Moving Parts
To keep the chuck and other moving parts of your driver operating smoothly and avoid wear and tear, lubricate them with a few drops of WD-40 or another lubricant. When using lubricant, be sure to wipe off any extra.
Keep the Driver Safe and Dry
Keep the driver in a dry and secure area, away from hot and humid conditions. Damage to the driver and its parts will be avoided by doing this. To prevent damage, always store the driver in its case when not in use.
Replace Any Worn or Damaged Parts
Your driver may require the replacement of any worn or damaged parts. The driver could malfunction or get hurt if they use worn-out or defective parts. For your driver, be sure to use genuine DeWalt replacement parts.
Do Frequent Maintenance Checks
Conduct routine maintenance checks on your driver, checking for wear or damage to the chuck, bits, and other parts. If necessary, clean the driver and chuck, and replace any worn or broken parts.
You can make sure your DeWalt impact driver works as efficiently as possible on all of your DIY and work-related projects by adhering to these suggestions. Your driver will remain a valued tool in your workshop or job site for years to come with regular upkeep and care. This will avoid wear and tear and extend the life of your driver.
Conclusion
Finally, everyone who possesses one of these adaptable and potent tools must possess the ability to remove a bit from a DeWalt impact driver. Whether you’re a DIY enthusiast or a seasoned contractor, knowing how to swap out pieces, maintain the driver, and diagnose problems will save you time and aggravation and keep your driver in good condition.
You may remove parts from your driver securely and effectively while keeping it in good shape for years to come by following the step-by-step instructions and troubleshooting advice in this article. Your driver will work at its peak on all of your projects if you give it regular maintenance and care. This will help avoid wear and tear and extend the life of your driver.
Inspect the driver and the chuck for damage or debris before and after use, and always use the proper equipment and methods when removing bits from your DeWalt impact driver. If you run into any difficulties, refer to the user guide or get help from DeWalt customer service.
You may use your DeWalt impact driver with confidence for all of your DIY and professional projects if you have the knowledge and abilities described in this article. You can remove bits quickly and safely while maintaining the longevity of your driver.